
A Guide to Staining, Sealing and Protecting Wood Wall Art.
Share
Finishing Techniques: A Guide to Staining, Sealing, and Protecting Your Wood Wall Art Wood wall art has a timeless appeal, bringing warmth, texture, and character to any space. However, just like any cherished piece of art, it's essential to give it the proper finish to ensure its longevity and enhance its beauty. Whether you're a seasoned craftsman or a budding artist, understanding the fundamentals of wood finishing can make all the difference.
The Importance of Wood Preparation Before you apply any finish, the wood surface needs to be prepared: Cleaning: Remove any dust or foreign particles from the wood using a tack cloth or a soft brush. Sanding: Start with a coarse-grit sandpaper, like 120-grit, and gradually move to finer grits, up to 220 or 320. Sanding smoothens the wood and ensures even absorption of stains and finishes. Wipe Down: After sanding, wipe the wood with a damp cloth to raise the grain and then lightly sand again with fine-grit paper.
Staining the Wood Staining isn't just about changing the color of wood; it can also enhance the grain pattern. Choosing a Stain: There are various types of stains available, from water-based, oil-based, to gel stains. Each has its advantages and specific look. Application: Always test the stain on a scrap piece first. Apply the stain using a brush or cloth, moving in the direction of the wood grain. Let it sit for a few minutes, then wipe off any excess with a clean cloth. Layering: For a darker shade, you can apply multiple coats, ensuring each layer is dry before the next application.
Sealing the Wood Sealers are crucial to lock in the stain and provide a barrier against moisture and other external factors. Types of Sealers: Popular choices include shellac, polyurethane, and lacquer. While shellac gives a natural finish, polyurethane offers more durability, and lacquer provides a smooth, glossy appearance. Application: Use a good quality brush and apply thin coats, allowing each layer to dry before the next.
Protecting Your Art For wood wall art, especially those placed in high traffic areas or exposed to sunlight, a protective finish is essential. UV Protectors: These are finishes that shield the wood from the harmful effects of UV rays, preventing discoloration or fading. Waxing: Applying a thin layer of wax over the sealed wood provides an additional protective barrier and a soft sheen. It's perfect for pieces that might be touched frequently. Maintenance: Dust the artwork regularly with a soft cloth. For pieces with a wax finish, consider re-waxing once every year or two.
Personal Touches and Experimentation. Distressing: If you're going for a vintage or rustic look, consider lightly distressing the wood after staining but before sealing. Mixed Finishes: Don't be afraid to mix finishes. For instance, a matte sealer might look great combined with a touch of glossy lacquer in selected areas. Finishing is as much an art as creating the piece itself. It accentuates the beauty of the wood, highlights your craftsmanship, and ensures that your artwork stands the test of time. With patience and practice, you'll find the perfect finishing touch for every masterpiece.
Wood wall art has always been cherished for its timeless beauty, natural warmth, and versatility in design. From intricately carved sculptures to modern 3D wall art, wood offers endless possibilities for creativity. At ArtMillwork Design, we are passionate about creating stunning wood wall art that brings nature into your home while adding a touch of sophistication and style. In this blog, we will explore the different types of wood wall art, their unique appeal, and how they can transform your living spaces.
1. Wood Sculpture Wall Art: A Testament to Craftsmanship
Wood sculpture wall art is a celebration of the artist’s skill and creativity. These pieces are meticulously carved to showcase intricate details, turning simple wood into extraordinary works of art. Whether it’s a lifelike depiction of wildlife, abstract forms, or cultural motifs, wood sculptures add depth and character to any room.
Carved wood wall art from India, for example, often features intricate patterns and designs that reflect the rich cultural heritage of the region. These pieces not only serve as decorative elements but also as a connection to the traditions and stories behind them.
2. Wood Wall Art Panels: Versatile and Stylish
Wood wall art panels are a versatile option that can be customized to fit any space. They can be arranged in various configurations to create a unique focal point or to cover an entire wall for a dramatic effect. These panels are available in a range of designs, from rustic reclaimed wood to sleek and modern styles.
Recycled wood wall art is particularly popular among eco-conscious homeowners. By repurposing old wood, these panels not only reduce waste but also bring a sense of history and character to your home. Each piece of wood has its own story, making your wall art one-of-a-kind.
3. Wooden 3D Wall Art: Adding Dimension to Your Space
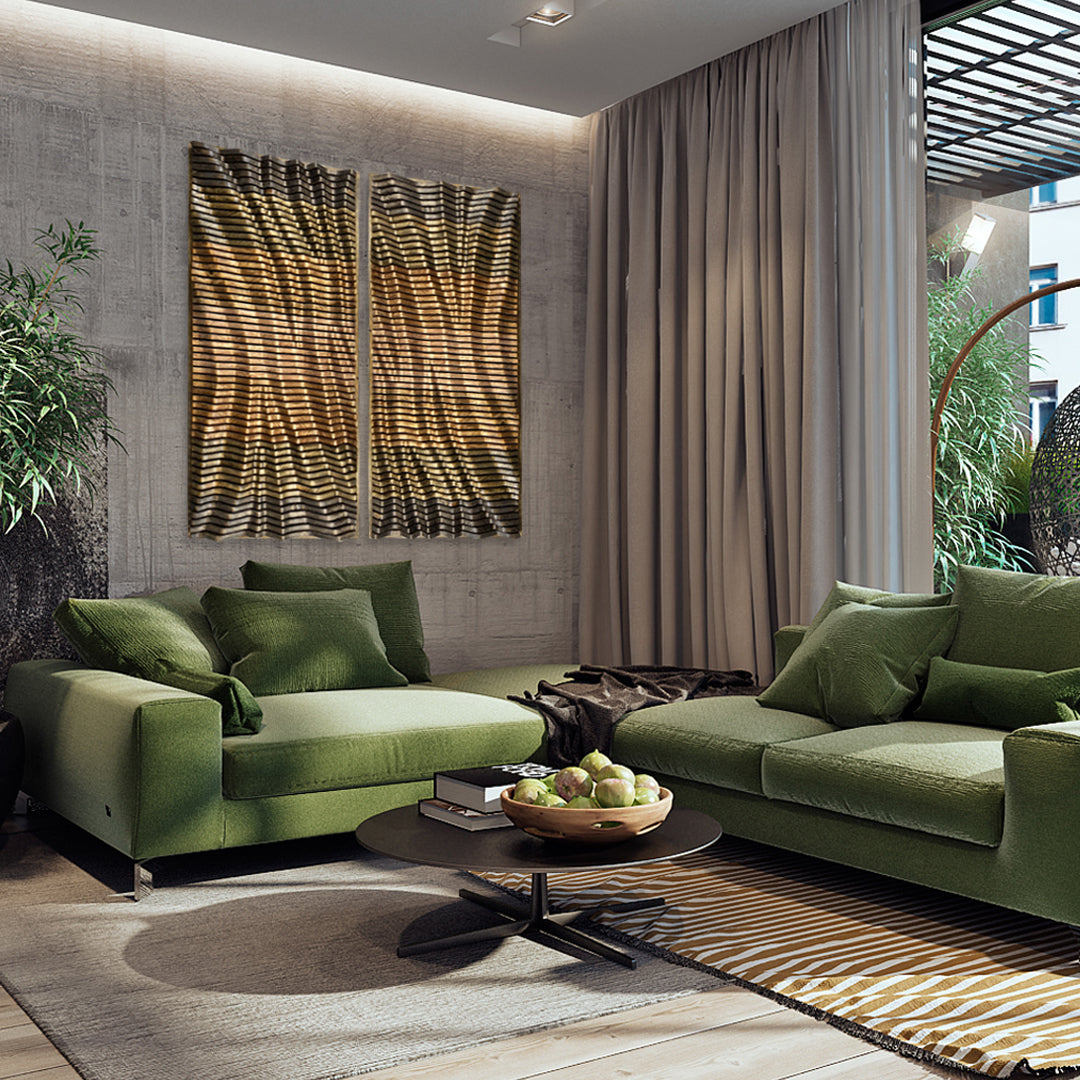
Wooden 3D wall art takes traditional wall décor to the next level by adding depth and dimension. These pieces are designed to stand out from the wall, creating a three-dimensional effect that captures the eye. Whether it’s a geometric pattern, abstract design, or a depiction of nature, wooden 3D wall art adds a modern and dynamic touch to any room.
Coastal wood wall art, for instance, often features themes like waves, seashells, or marine life, bringing the serene beauty of the ocean into your home. Wooden whale wall art is another popular choice for coastal-inspired interiors, offering a whimsical yet elegant appeal.
4. Live Edge Wood Wall Art: Embracing Nature’s Imperfections
Live edge wood wall art embraces the natural shape and texture of the wood, showcasing its raw beauty. These pieces often retain the natural edges of the wood, highlighting the organic lines and imperfections that make each piece unique. Live edge wood art is perfect for those who appreciate the authenticity and rustic charm of natural materials.
A wall art wood sculpture with a live edge can serve as a stunning centerpiece in a living room or dining area, bringing a touch of the outdoors inside. The combination of smooth, polished surfaces with rough, natural edges creates a beautiful contrast that is both striking and harmonious.
5. Wood Block Wall Art: A Modern Twist on Tradition
Wood block wall art offers a modern twist on traditional wood craftsmanship. These pieces are created by arranging small blocks of wood in a grid or pattern, resulting in a textured and visually intriguing design. The use of different wood types, colors, and finishes adds variety and interest to the composition.
This style is particularly effective in contemporary interiors, where the clean lines and geometric patterns of wood block wall art can complement minimalist décor. It’s also a great way to add warmth and texture to a space without overwhelming it.
6. Themed Wood Wall Art: Reflecting Your Interests and Passions
Themed wood wall art allows you to express your interests and passions through your home décor. Whether you’re a beach lover, a nature enthusiast, or a patriotic American, there’s a piece of wood art that can reflect your personality and style.
Beach Wood Wall Art: For those who love the coast, beach wood wall art brings the relaxed, breezy feel of the ocean into your home. Think of driftwood sculptures, seashell inlays, or scenes of sandy shores and palm trees.
Coastal Wall Art on Wood: Similar to beach-themed art, coastal wall art often features nautical elements like anchors, lighthouses, or marine life. These pieces are perfect for creating a tranquil, seaside-inspired retreat.
Wooden Surfboard Wall Art: Surfboard wall art is a fun and unique way to bring a bit of the beach into your home. Whether you’re a surfer or just love the surf culture, these pieces add a playful yet stylish touch to any room.
Hawaiian Wood Wall Art: Hawaiian wood wall art often showcases tropical themes like hibiscus flowers, volcanoes, or hula dancers. These pieces are perfect for adding a touch of the islands to your space, evoking the laid-back vibe of Hawaii.
Wood Wall Art American Flag: For those with a patriotic spirit, a wood wall art American flag is a bold and beautiful way to display your love for the country. These pieces are often handcrafted with great attention to detail, making them a standout feature in any room.
Personalized Wood Wall Art: Personalized wood wall art allows you to create a custom piece that is uniquely yours. Whether it’s your family name, a favorite quote, or a meaningful date, personalized art adds a special, personal touch to your home.
7. Circular Wood Wall Art: Soft and Elegant
Circular wood wall art offers a softer alternative to traditional rectangular or square pieces. The round shape adds a sense of flow and harmony to a space, making it a great choice for bedrooms, living rooms, or entryways. Circular designs can range from simple and minimalist to intricate and detailed, depending on your style preference.
8. Wood Mosaic Wall Art: A Creative Patchwork of Beauty
Wood mosaic wall art is a creative and artistic way to incorporate different wood types and finishes into a single piece. These mosaics are made by arranging small pieces of wood in a pattern or design, resulting in a patchwork of colors and textures that is both visually stunning and unique.
This style of art is particularly effective in adding warmth and interest to large walls or open spaces. The mosaic pattern can be as simple or complex as you like, allowing for endless customization possibilities.
Conclusion: The Enduring Appeal of Wood Wall Art
Wood wall art is more than just a decorative element; it’s a celebration of nature, craftsmanship, and personal expression. Whether you prefer the intricate details of wood sculpture wall art, the modern appeal of wooden 3D wall art, or the natural beauty of live edge pieces, there’s a style of wood art that can enhance your home and reflect your personality.
At ArtMillwork Design, we take pride in creating high-quality wood wall art that resonates with our customers' tastes and lifestyles. Explore our collection today to find the perfect piece to bring warmth, beauty, and character to your home.